1Install both plugins
GUIHelper is two small plugins that talk to each other through a 6-character code: one in Figma, where you design, and one in Roblox Studio, where the UI gets built. Both install for free; the Figma plugin comes with a 7-day trial.
- Figma: open the plugin page and click Open in…. After that you find it any time under Plugins → GUIHelper – Figma to Roblox – in the desktop app and in the browser.
- Roblox Studio: sign in on the Creator Store page and get the plugin. In Studio it sits in the Plugins tab with two buttons: GUIHelper (import) and UI Tools. Don't see it? Check Plugins → Manage Plugins or restart Studio once.
2Design a frame in Figma
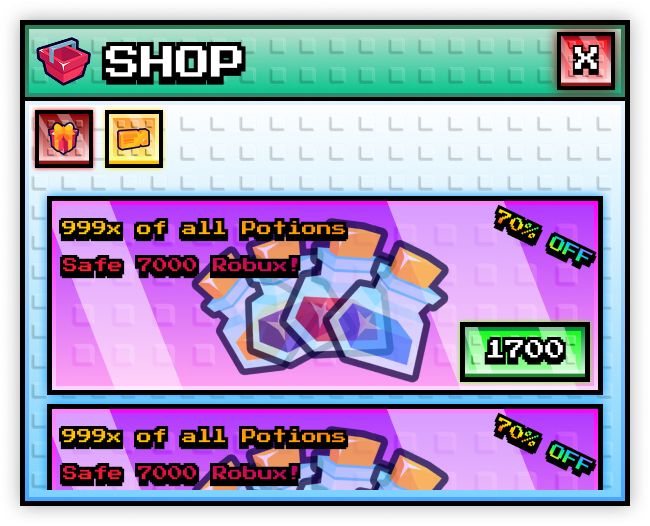
Build your UI as one frame – a shop, an inventory, a reward popup. Everything inside it comes along. A few habits make the import clean:
- One top-level frame per screen or panel. That frame is what you convert.
- Name your layers – Close, Buy, Gift. The names carry over to Studio, and tags are added to them later.
- Keep text as text layers. Shadows, image fills, blurs and vector shapes are fine: whatever Roblox can't draw natively turns into an image, cut to the exact size. Image adjustments like temperature or exposure come along too.
3Connect Roblox – once
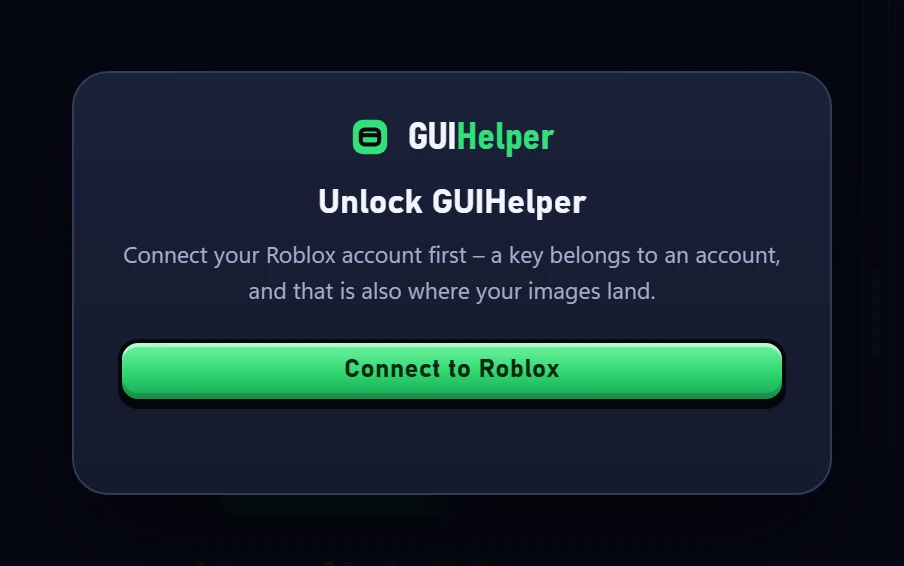
Start GUIHelper in Figma. The first screen asks you to connect your Roblox account: your images are uploaded to your own account, and your trial or license belongs to it.
- Click Connect to Roblox. Your browser opens the Roblox sign-in – click Allow.
- You see “Connected to Roblox”. Close the tab and go back to Figma.
- Click Start 7-day trial – or enter your license key (
GH-XXXX-XXXX-XXXX).
4Convert the frame
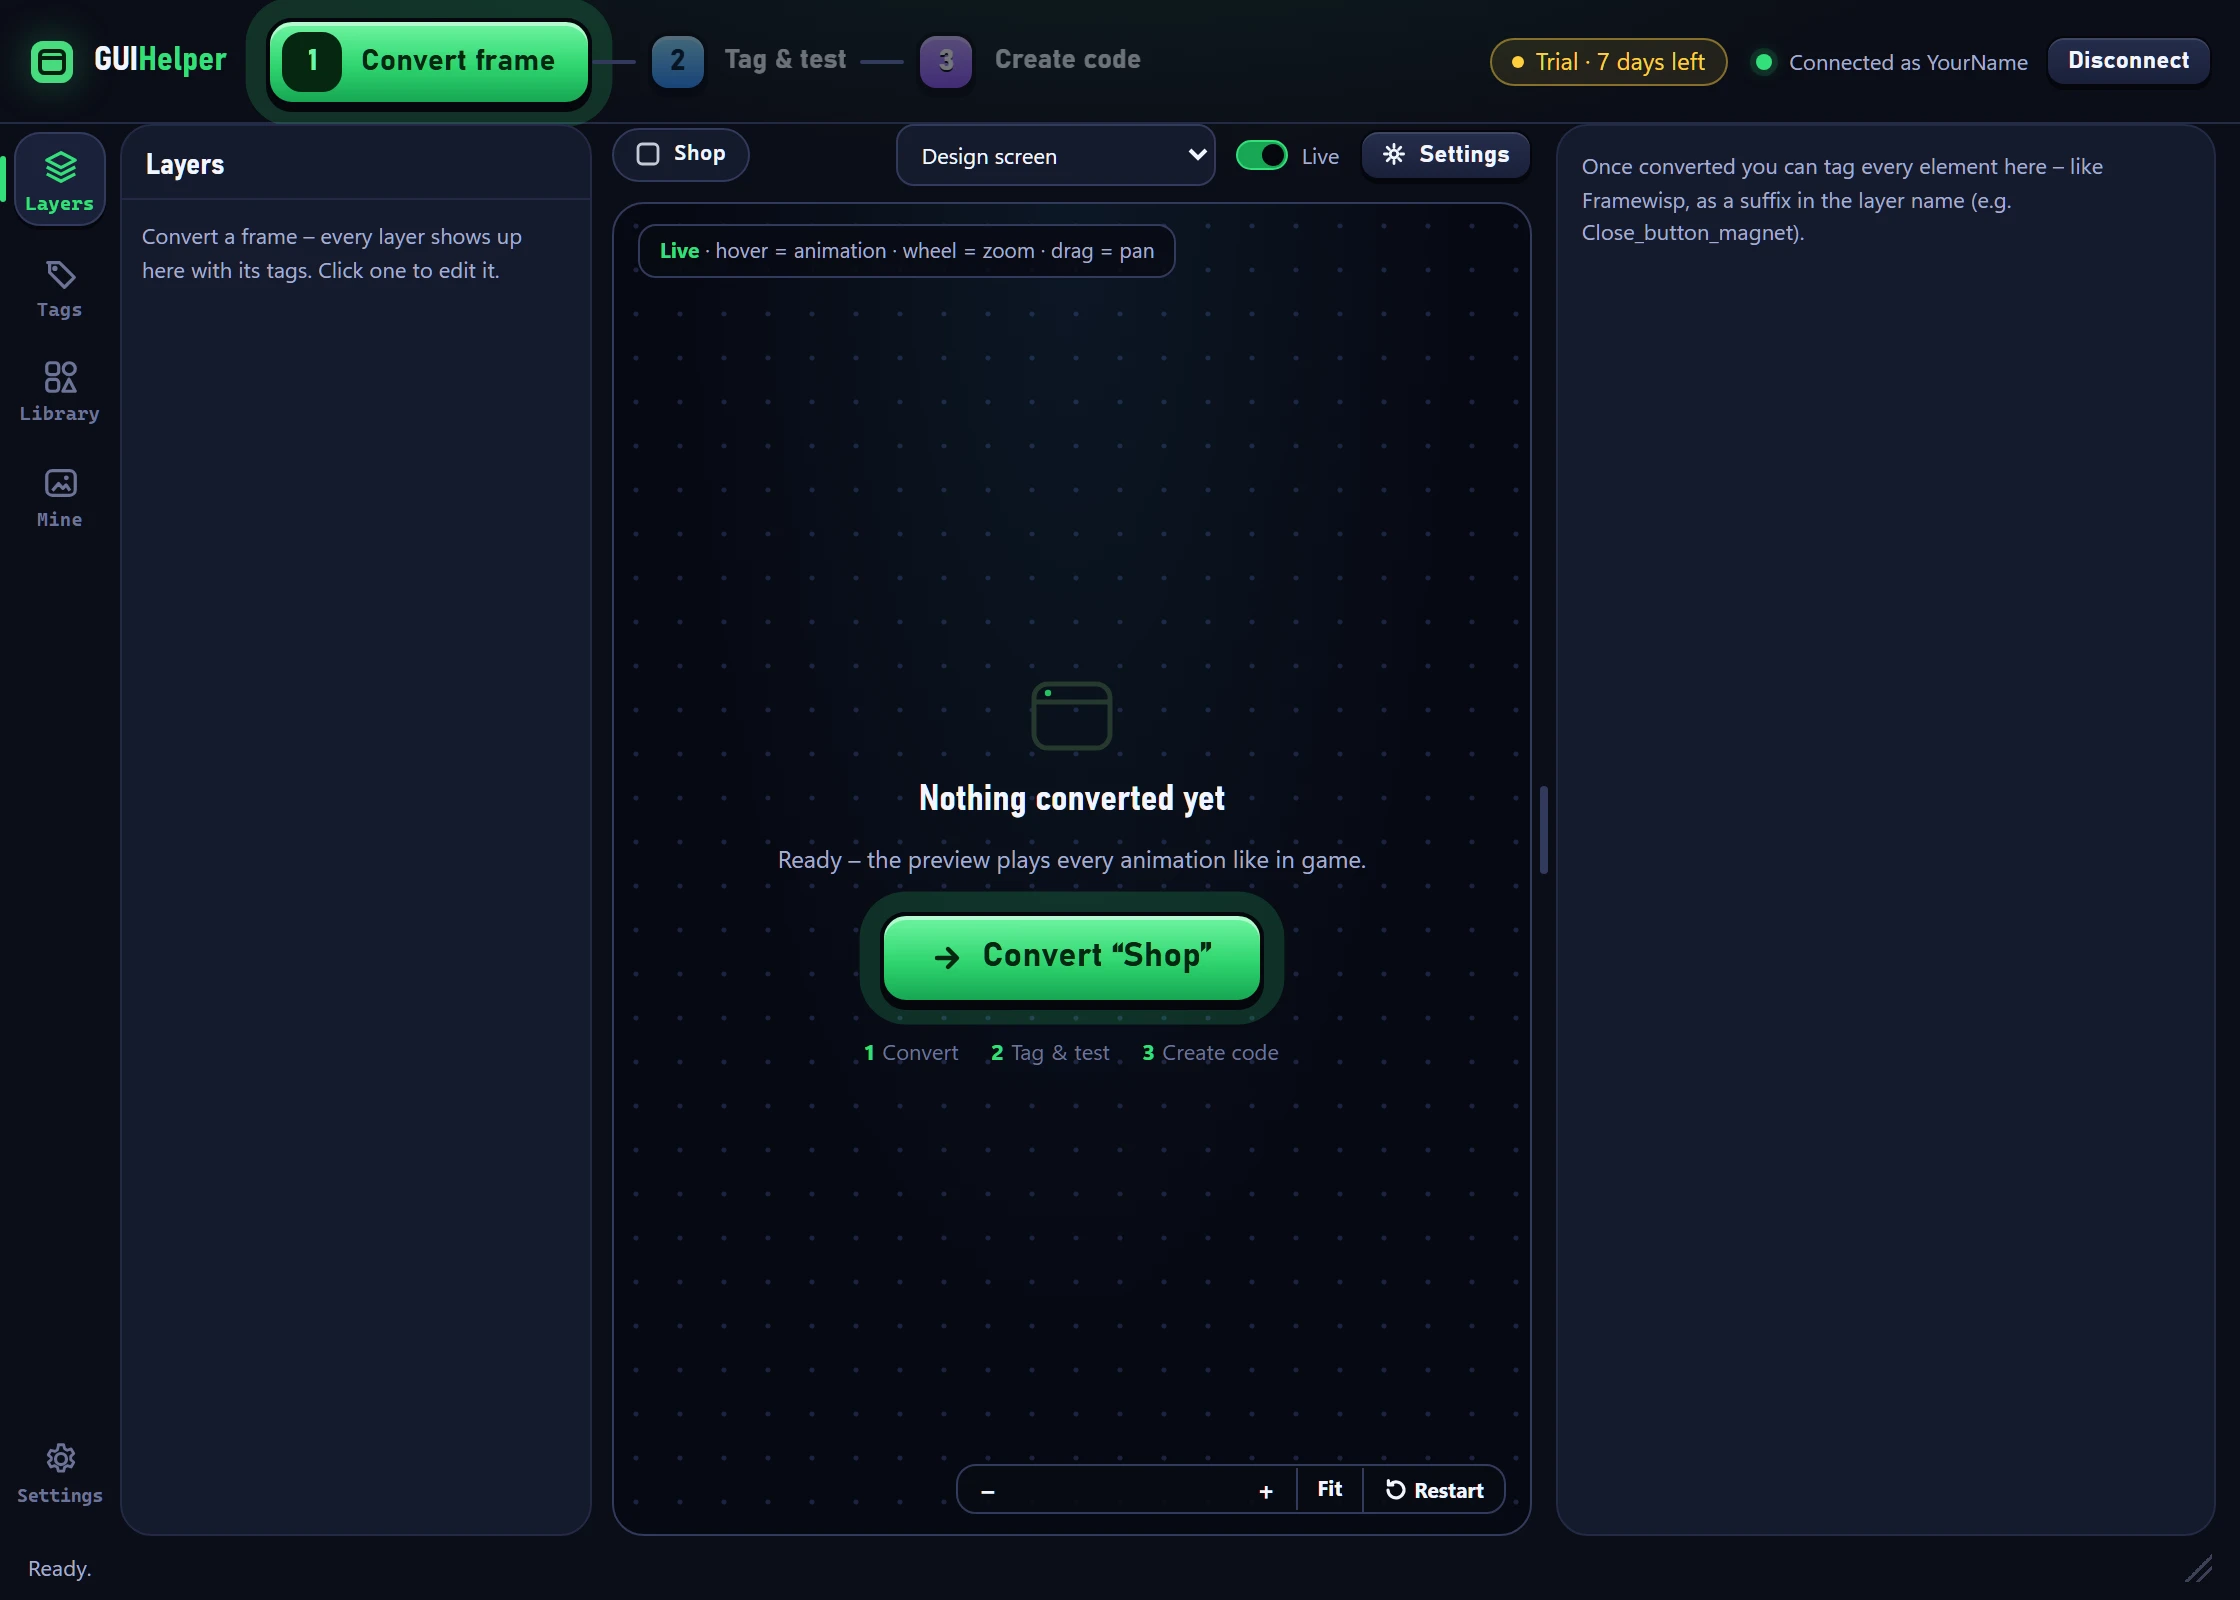
Select your frame in Figma. The green Convert frame button starts to pulse – click it. A second later the frame appears in the live preview.
The preview behaves like the game: hovering plays hover animations, clicks run actions, lists scroll. The mouse wheel zooms, dragging pans, a double-click shows the whole design again. With Live on, every change you make in Figma shows up right away.
5Tag it and test it
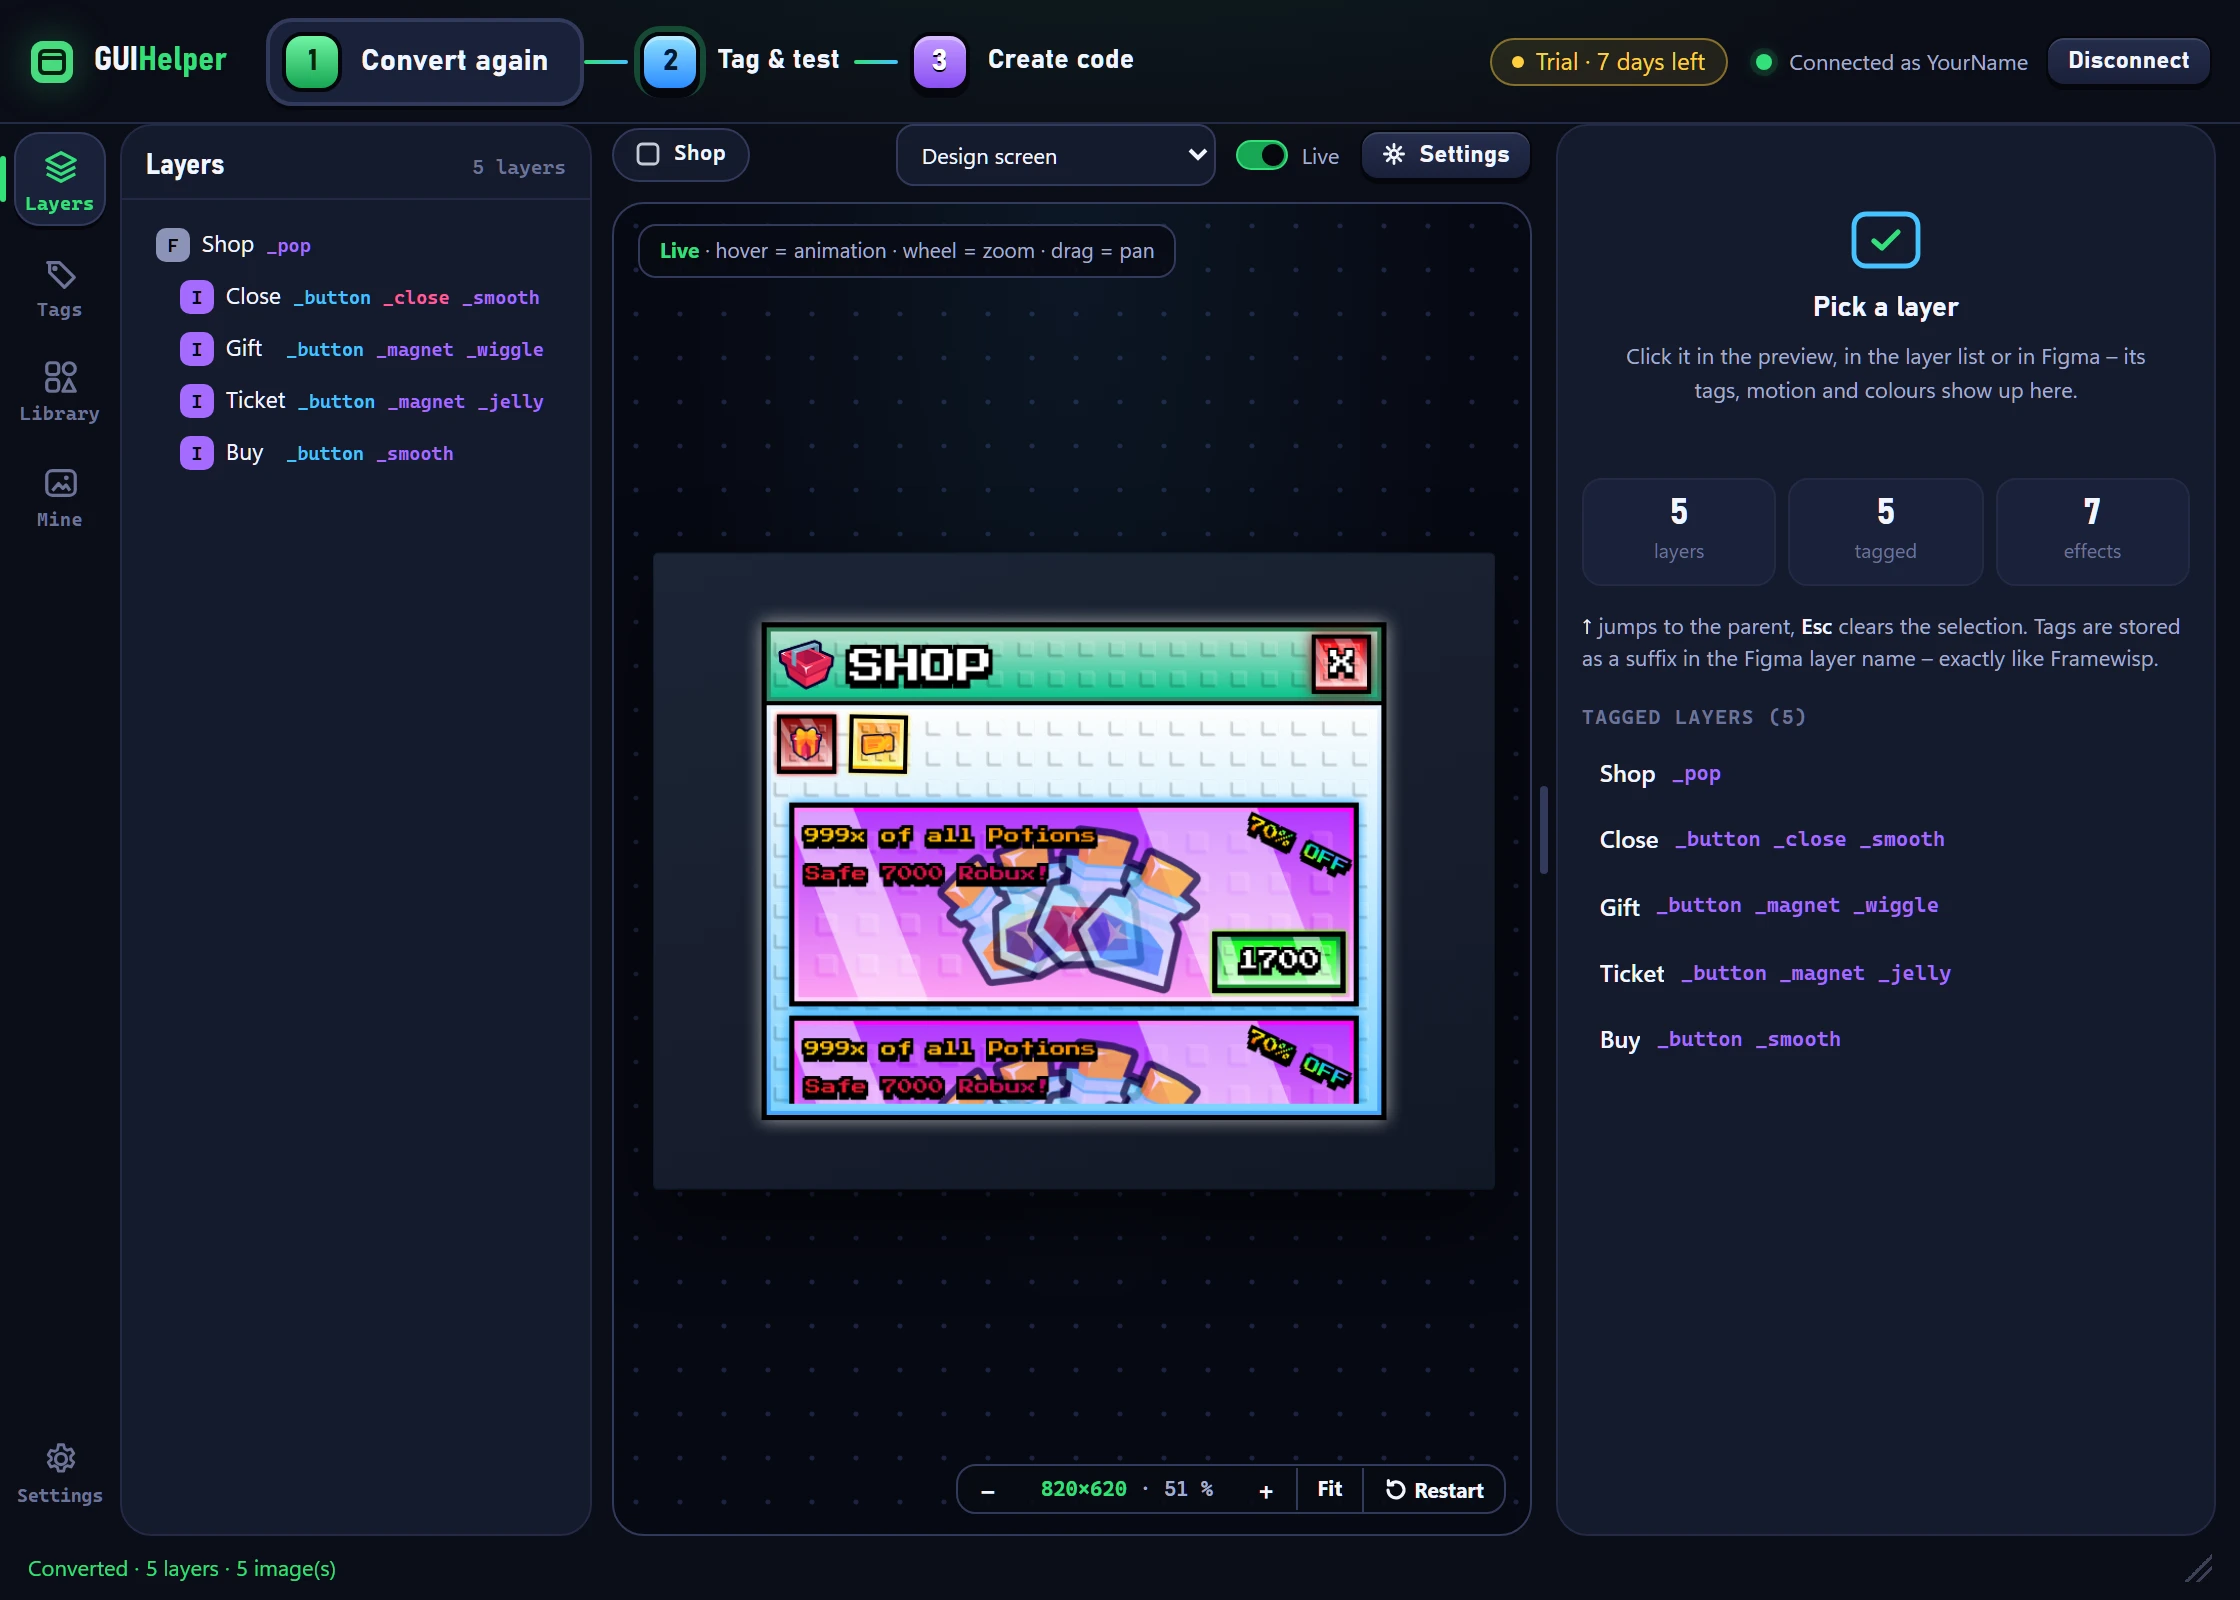
Tags tell GUIHelper what an element should do. Click an element – in the preview, in the layer list or in Figma – and switch tags on in the inspector on the right:
- Close: _button and _close – a click closes the shop. Add _smooth so it grows on hover and squishes when pressed.
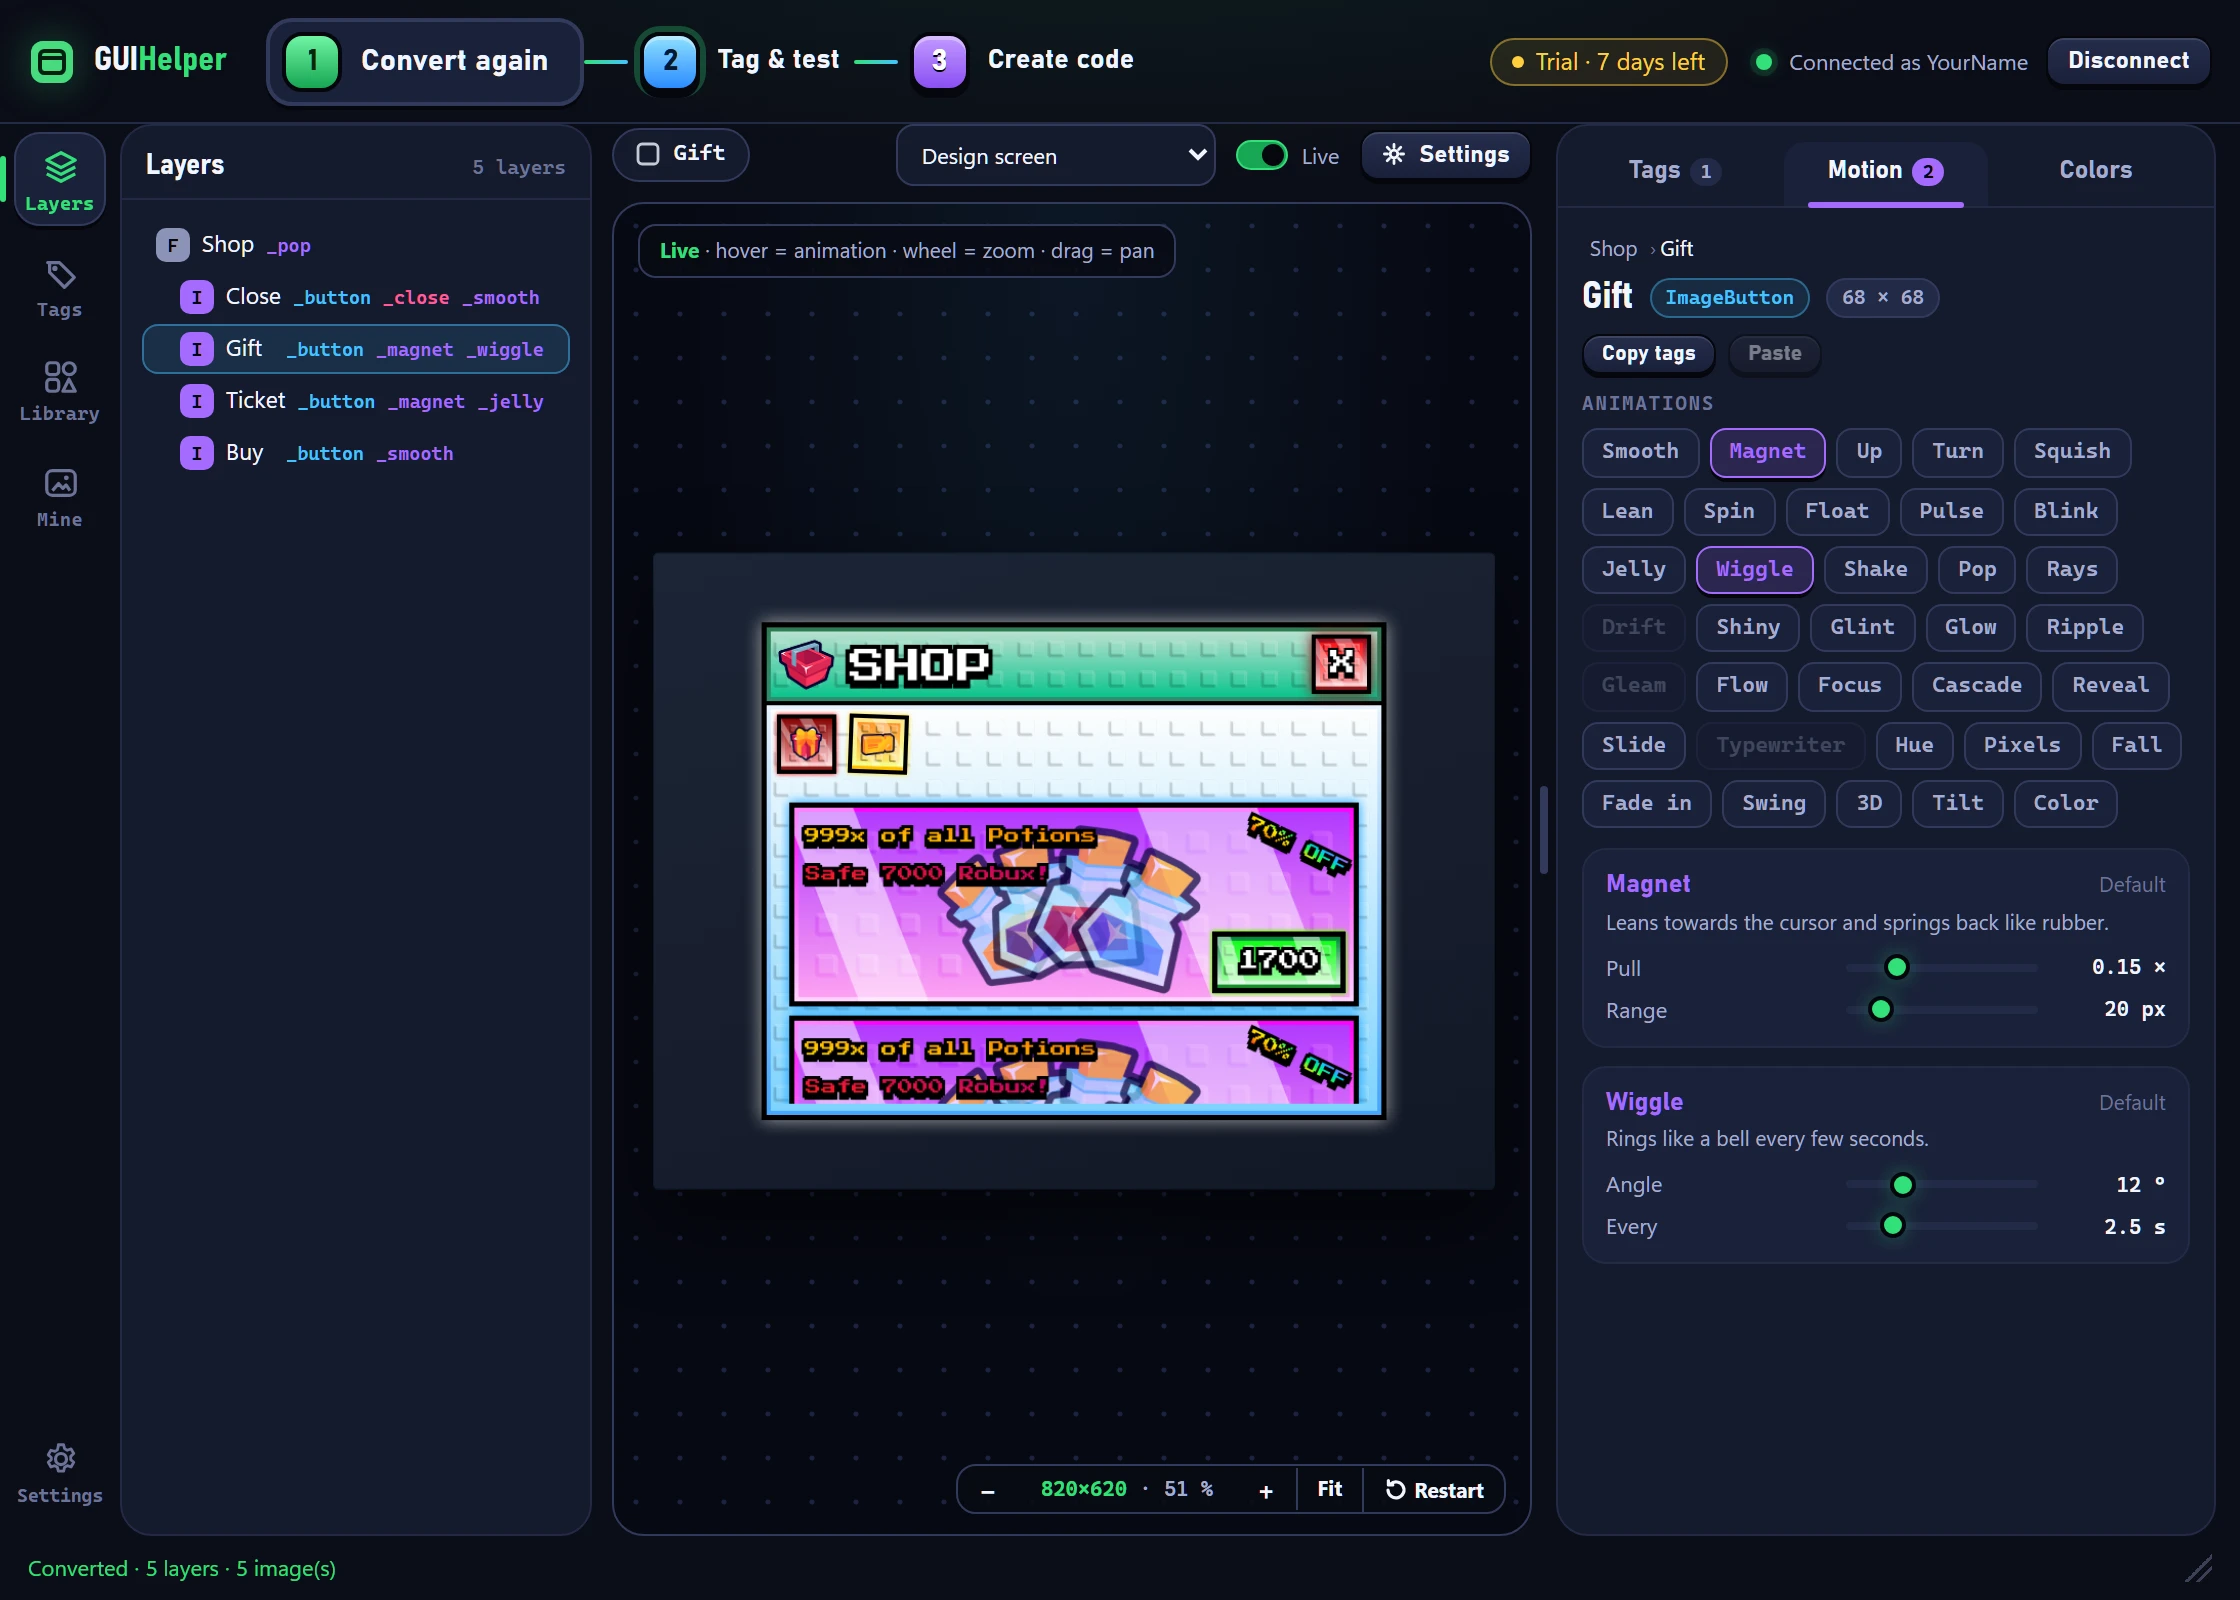
- Gift and Ticket: _button, then on the Motion tab _magnet plus _wiggle or _jelly. Drag the sliders and watch the preview change.
- Buy: _button and _smooth.
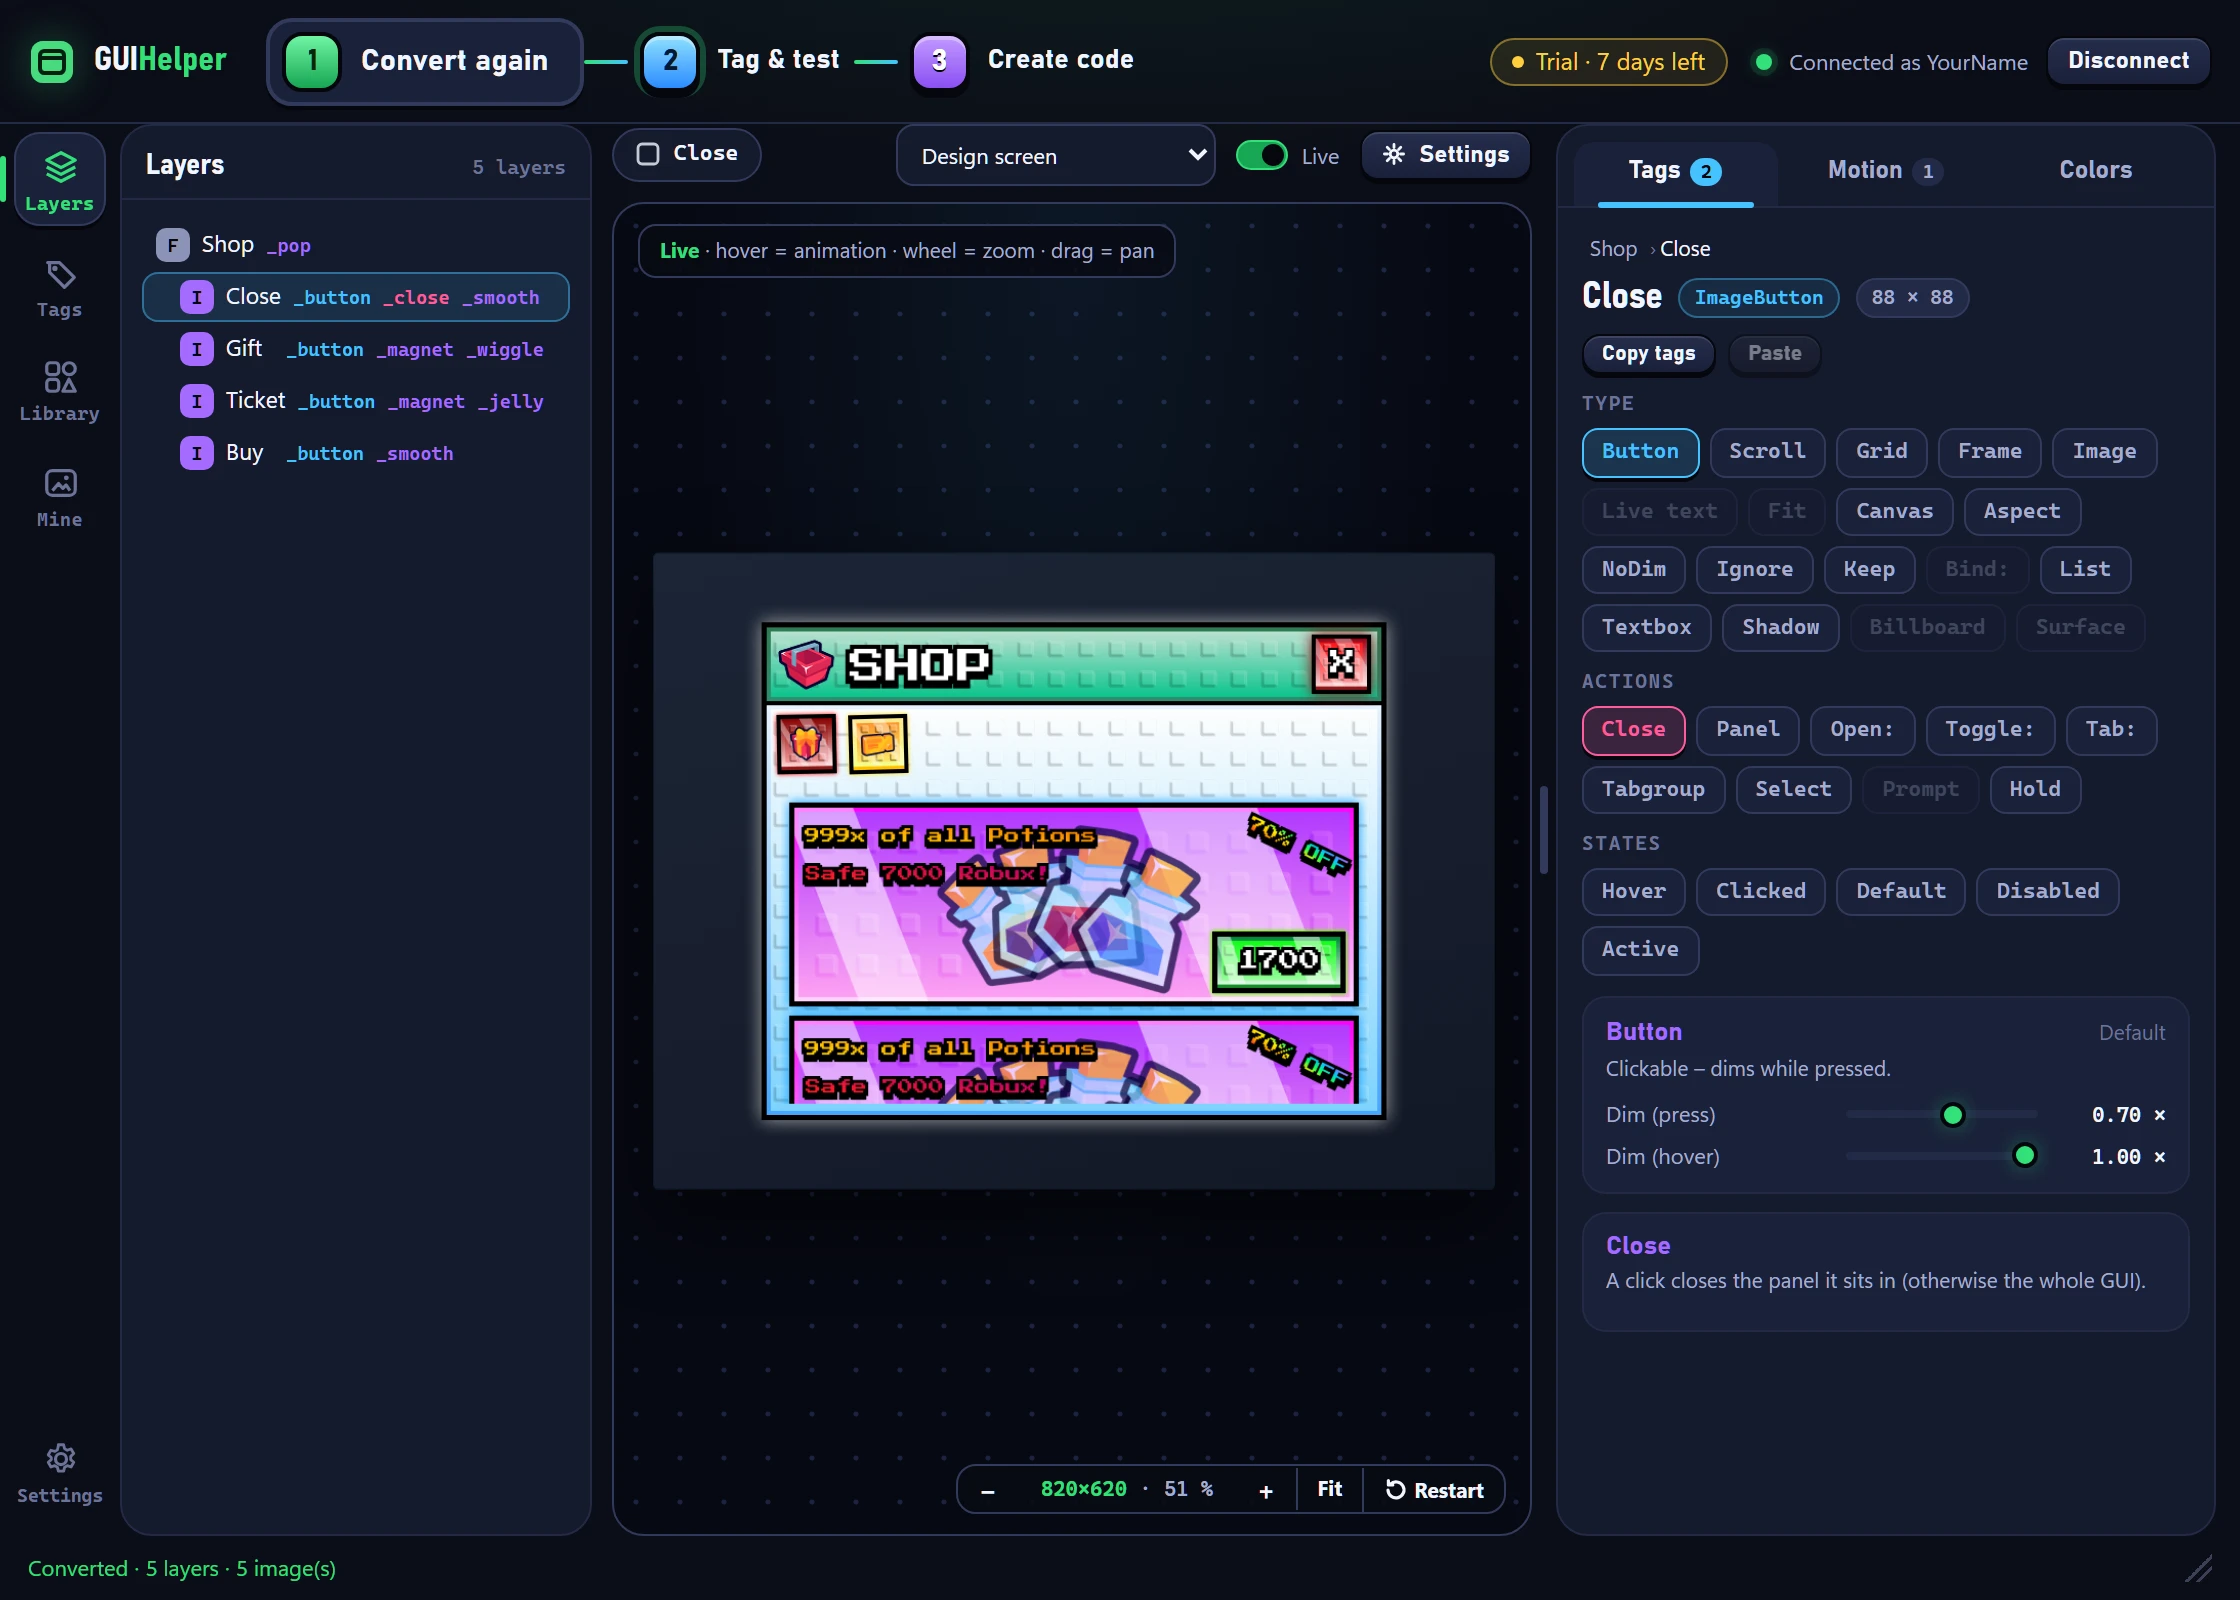
A tag is just a suffix in the layer name: in Figma the layer is now called Close_button_close_smooth, in Roblox it is simply Close. You can type tags yourself, too. The Tags guide in the side bar explains every one of them; select several layers to tag them all at once, or copy and paste tags with Ctrl+C / Ctrl+V.
6Create the code
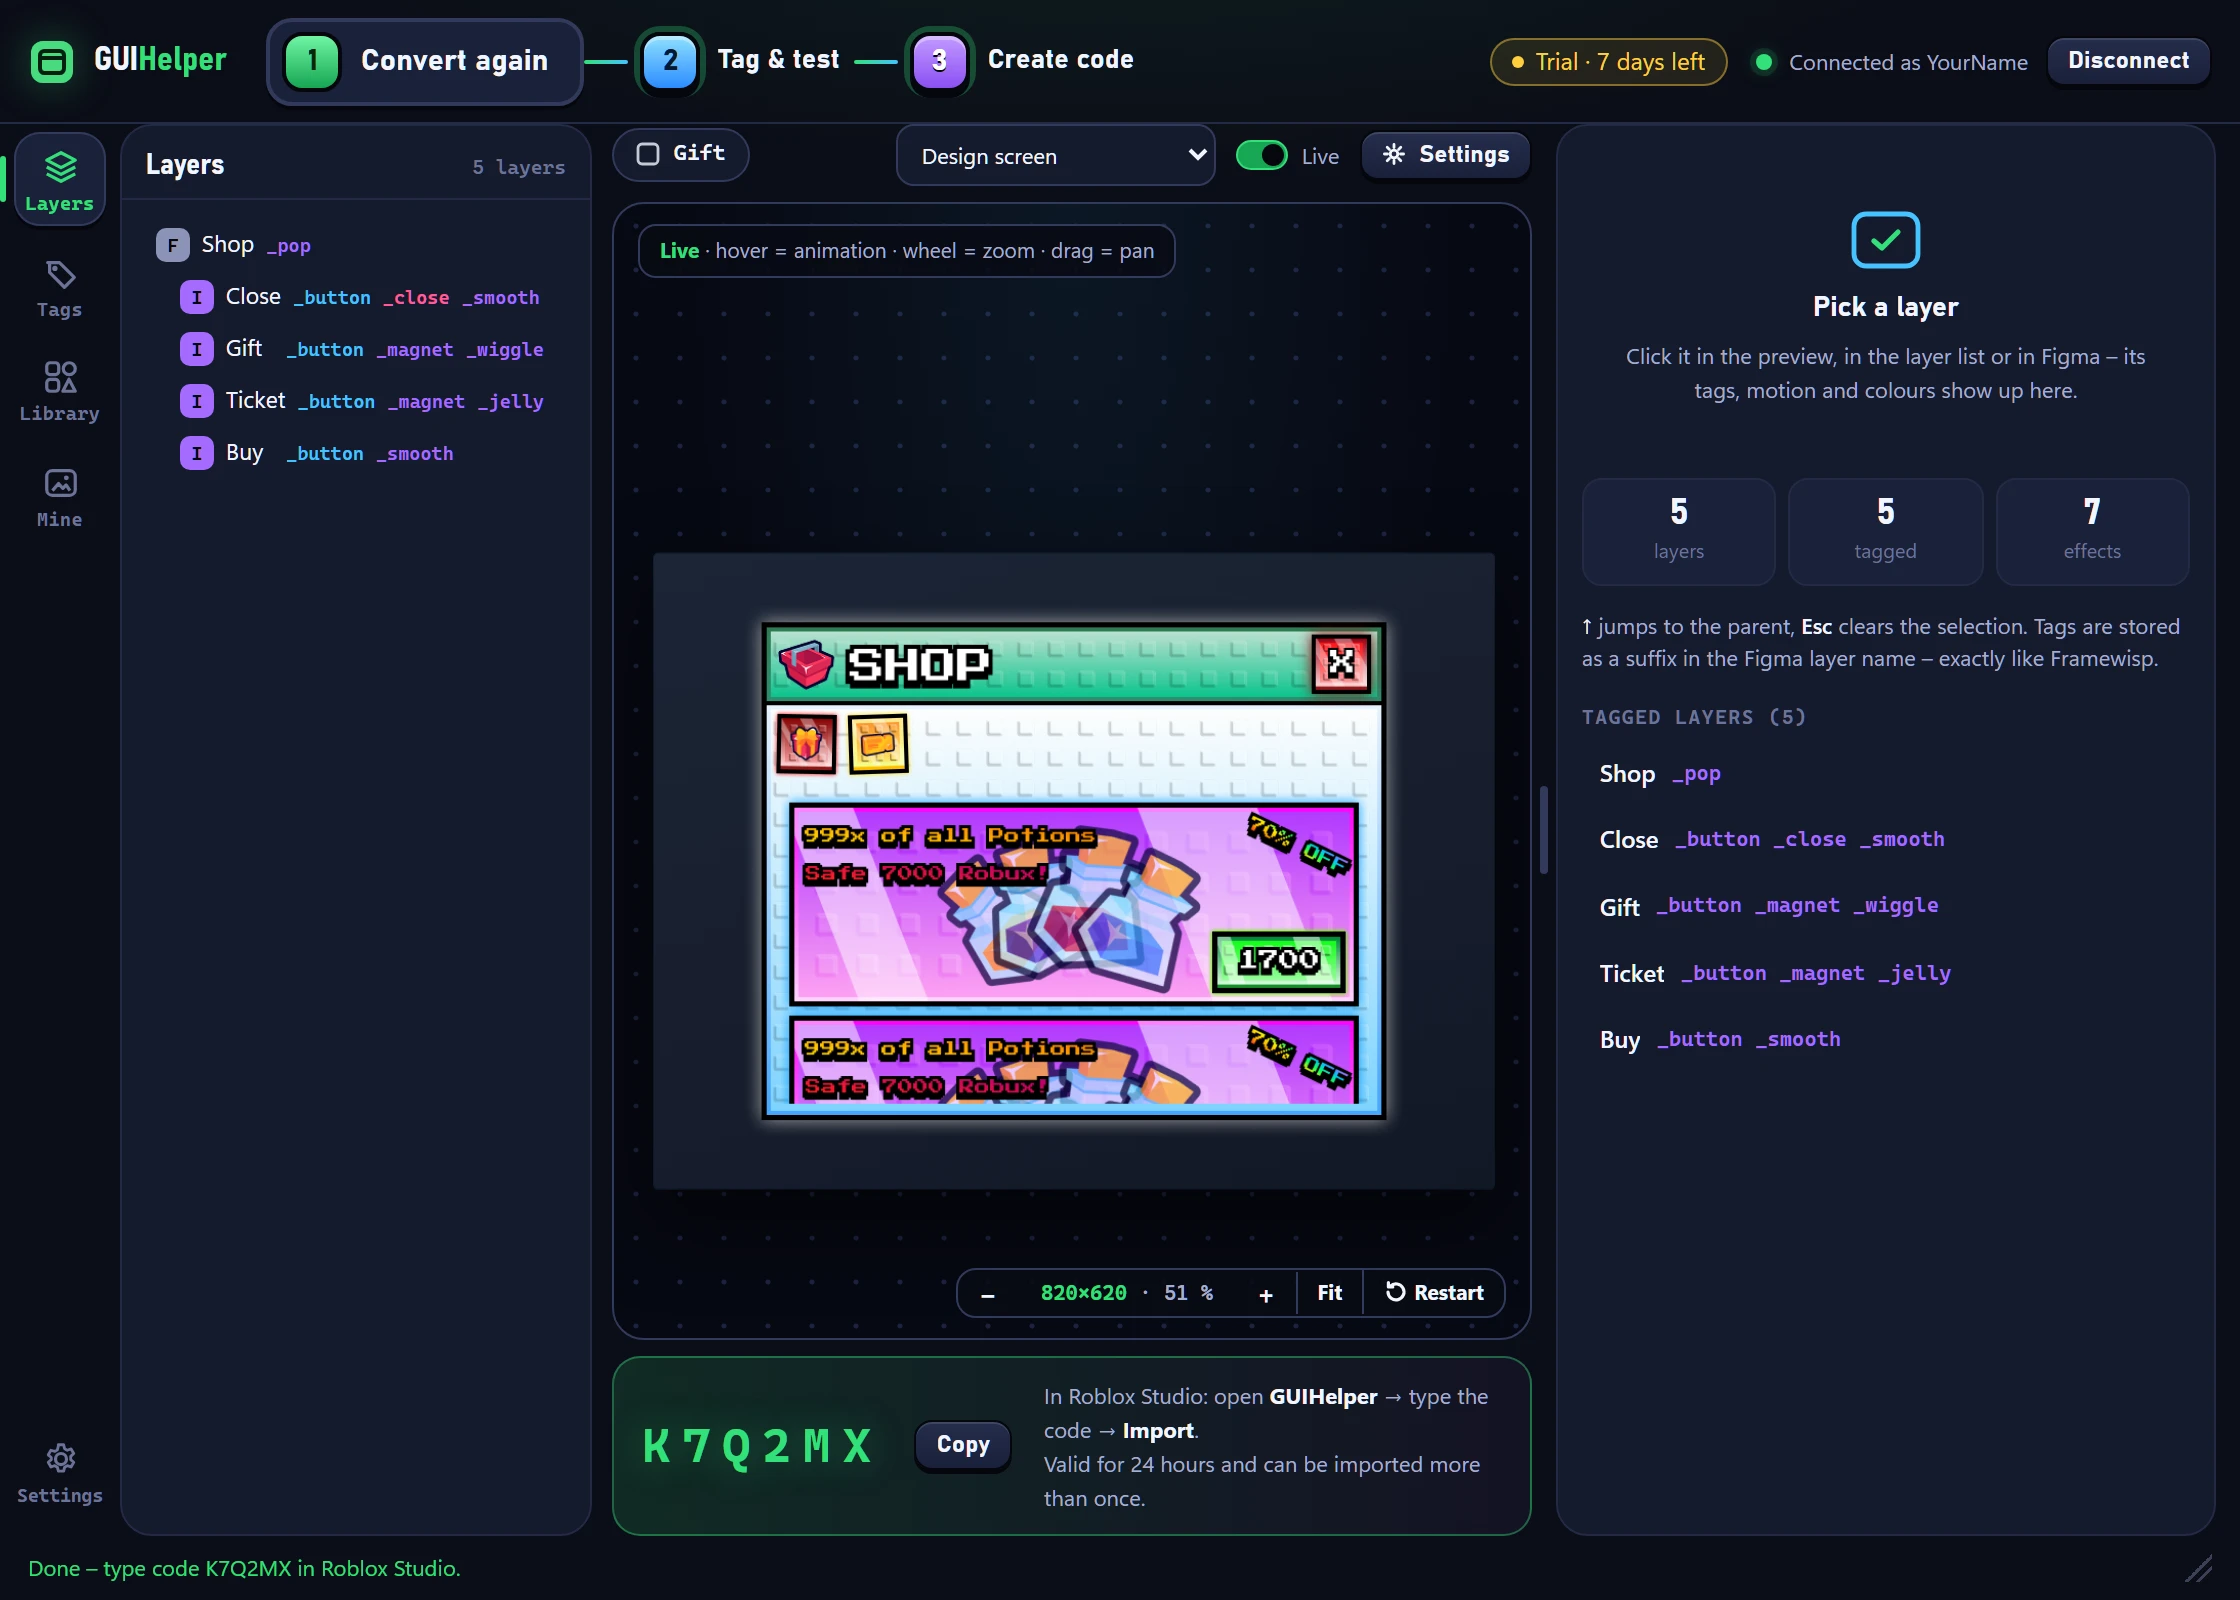
Happy with it? Click 3 Create code. GUIHelper uploads the images to your Roblox account and shows a 6-character code.
- The code works for 24 hours and as often as you like – import it into several places if you want.
- Brand-new images wait a few minutes for Roblox moderation. Until then they show up blank in Studio; importing again later reuses them instantly.
7Import it in Roblox Studio
Open your place in Studio, go to the Plugins tab and click GUIHelper. Type the code and click Import.
Simplified: the GUIHelper window after the import (left) and what lands in the Explorer (right).
- The first time, Studio asks whether GUIHelper may access the internet – allow it. That window sometimes opens behind Studio.
- Studio may also ask to let GUIHelper add scripts – it needs that for its runtime script.
- Your UI lands in StarterGui: real Frames and ImageButtons, laid out in Scale so it fits every screen, plus a script called GUIHelper that plays the effects.
8Press Play
Effects only run in the game, so press Play (F5). Hover the gift, press Buy, click the close button – everything behaves like the preview in Figma. In Edit mode the design stands still; that is normal.
Want to fine-tune something later? Every effect value is an attribute on its element – for example MagnetPull or WiggleAngle on the gift. Change it in the Properties panel and press Play again.
Next steps
- UI Tools – the second toolbar button (it opens on the right the first time) moves, resizes and docks any UI element or swaps its class. Drag a GUIHelper design bigger and its text, strokes, corners and grids grow along. Ctrl+Z takes every step back.
- One script or many – in the GUIHelper window under Settings → Runtime script choose One per design (the default) or One global script in StarterPlayerScripts.
- Changed the design? Create a new code in Figma and import again.
- Plugin settings – the gear in the Figma plugin switches between dark and light, sets the window size and holds the export options.
- All tags – tabs, scrolling grids, live data like
{Coins}, world UI and 36 animations are in the docs.
If something goes wrong
Studio shows “No answer” when importing
Studio is waiting for you to allow internet access for GUIHelper – look for that window behind Studio, allow it and import again. You can also switch it on under Plugins → Manage Plugins.
Images are blank
New uploads wait for Roblox moderation, usually a few minutes. If one stays missing, create a new code in Figma while connected to Roblox.
Nothing moves
Press Play – effects never run in Edit mode. Also check that the GUIHelper script is inside your design (or, with One global script, in StarterPlayerScripts).
The code is unknown
Codes last 24 hours. Click 3 Create code in Figma again.